Use a utility knife or a special caulk removal tool to carefully cut and pull away the old caulk. Take your time to avoid scratching tiles or damaging the tub.
After removing the old caulk, scrub the area with rubbing alcohol or a bathroom cleaner to remove soap residue and mold. Let the surface dry completely.
To ensure clean, straight lines, apply painter’s tape above and below the joint you’re caulking.
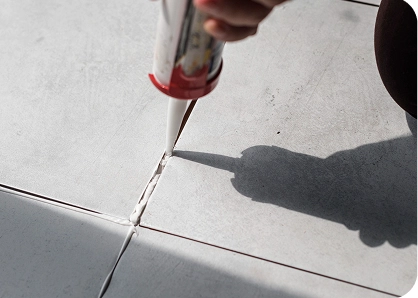
Load the caulking gun and apply a smooth, even bead of caulk along the joint. Keep a steady hand and move slowly.
Use a caulking tool or your finger (with gloves on) to smooth the caulk line. Wipe off any excess with a paper towel.
Allow the caulk to cure for at least 24 hours before using the tub or shower. Check the label for exact drying time.
If your bathtub has persistent leaks, mold behind the wall, or structural damage, it’s time to bring in experts. At Vexa Construction, our handyman and bathroom repair team can handle everything from caulking to full bathroom renovations — quickly and professionally.
One Response
fjghghj